
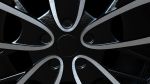
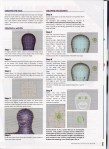
015
-
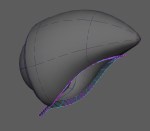
- Trimming, hides the other object. Duplicate the curve and creating a lofted surface.
-
- Intersecting surfaces creating a new curve where the two surfaces interest.
-

- Selecting open edges, isoparms of two surfaces creating a loft between them.
-

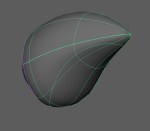
- Lofted surface’s hulls adjusted making the new shape.
-
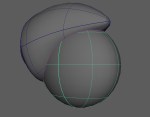
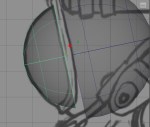
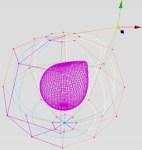
- the resulting curve from the intersecting surfaces, the other sphere has been hidden
-

- Fillet surfaces to bridge gapes between surfaces.
-
- Adjusting CVs, lining up the shape with the reference.
-

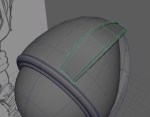
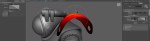
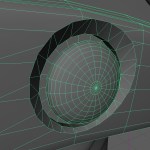
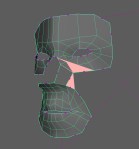
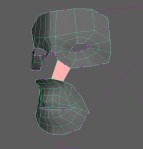
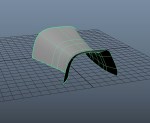
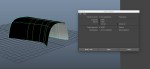
- Railed surface, the profile curve between to curves.
-
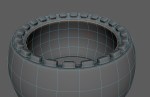
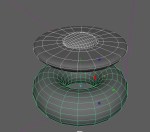
- Detached sections of a NURBS sphere creating a new surface.
-

- Adjusting the shape of the rebuild, profile curve
-
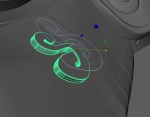
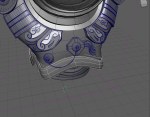
- Creating the brail surface. First selecting the profile curve, then the first and second rail curves.
-

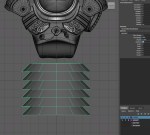
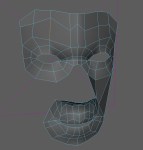
- Loft created between the inside edges, then adjust the hulls to match the reference.
-
- Adjusted hulls of the lofted surface.
-

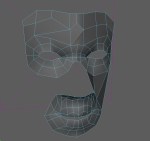
- Adjusting Cvs of the lofted surface.
-

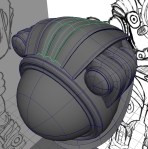
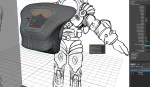
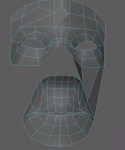
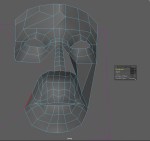
- All the parts starting to come together.
-
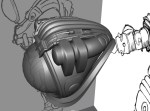
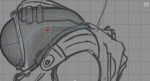
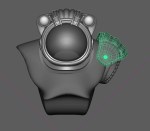
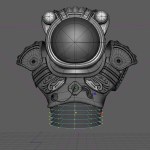
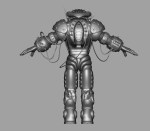
- The supplied finished helmet.
-

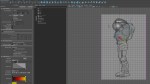
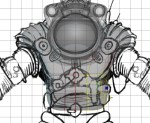
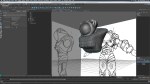
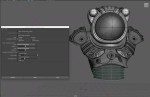
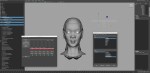
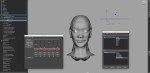
- model reference set as image planes, front and side views and visible in perspective.

-
- Started with the technique – box modelling.
-
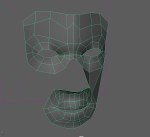
- Looking at tool settings to begin adjusting vertices for the basic shape.
-
- Soft select to move vertices for the front view’s basic shape.
-
- Adding edge loops then using new vertices to continue shaping the torso.
-

- Extruding faces to make a depression for the arms and helmet.
-
- Divisions with the extrude tool.
-

- Depressions for the arms and helmet.
-
- Selecting faces for deleting.
-
- Deleted faces
-

- Extruding when the object is selected, settings for Thickness and Divisions.
-

- Extruded faces.
-

- Crease Tool.
-
- Crease Tool used on the edges.
-

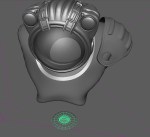
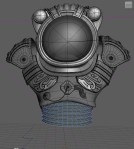
- Positioned the socket in the opening of the torso.
-

- Creating a Crease Set.
-

- Creating the basic shape from a pipe for the shoulder amor.
-

- Extrude and scale the faces.
-
- Mirror Cut plane and settings.
-
- Mirror cut geometry and nodes that have been created.
-
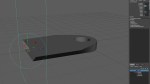
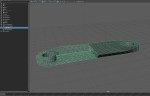
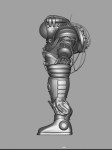
- Final shape model from the book.
-

- Lattice deformer to shape the geo.
-

- Adjusting selected lattice points to create a bend in the surface.
-

- Extruding faces making the extended geo.
-
- Soft Modification adding slight spherical bend to the surface.
-
- Creating the boult using two meshes.
-

- Curve between the two connectors.
-

- Extrude faces with Divisions, to make the indent.
-

- Combining two meshes.
-

- Extrude along the curve creating the tube
-

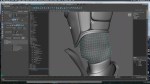
- Refining the shape with creasing edges.
-

- Curves drawn on ‘Live’ surface, extrude mesh along the curve making the tube.
-
- The bolt shape.
-
- Positioned bolt and combined with shoulder amor object.
-
- Creating offset curve from original curve.
-

- Joining the curves and shaping using CVs.
-
- Projecting the curve shape on another poly surface, moving CVs adjusts the projection.
-

- Bevel edges to round the shape.
-

- Round cap ON, Inputs settings adjusted.
-
- Edge to curve and extrude.
-
- Can then refine the shape.
-
- Revolve from the CV curve.
-
- Belly pleats ready for more modelling, including creasing.
-

- Object lined up to cut a hole in the mesh.
-
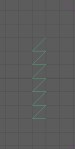
- CV Curve
-
- Converting Nurbs to Polygons.
-

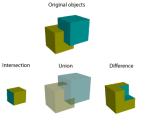
- Hole cut by Booleans, difference operation.
-
- Sphere shaped and merged using a union operation.
-

- Starting with a cube for fabric.
-

- Sculpting the basic shape of the fabric.
-
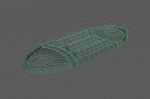
- Refining the shape of the fabric.
-
- Spin a Polygon edge

-
- Bridge Polygons
-

- Number of subdivisions
-

- Interactive Split Tool


-
- Bowties
-
- Append a Polygon
-

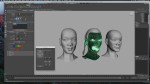
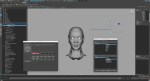
- front
-
- side
-
- back
-
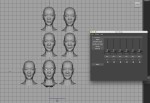
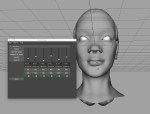
- Set Driven Keys to connect the controller to the blend shapes., mouth narrow.
-

- Set Driven Keys to connect the controller to the blend shapes., mouth wide.
-
- Set Driven Keys to connect the controller to the blend shapes for left and side mouth.
-
- Showing each side of the mouth has a different shape.

-
- https://knowledge.autodesk.com/support/alias-products/learn-explore/caas/CloudHelp/cloudhelp/2015/ENU/Alias-Modeling/files/GUID-85418D84-B4A9-4DA8-8FDB-13C424D67C4D-htm.html
-
- Surfaces > Birail 1 Tool
-
- Proportional

-
- Non Proportional
-

- Non Proportional
